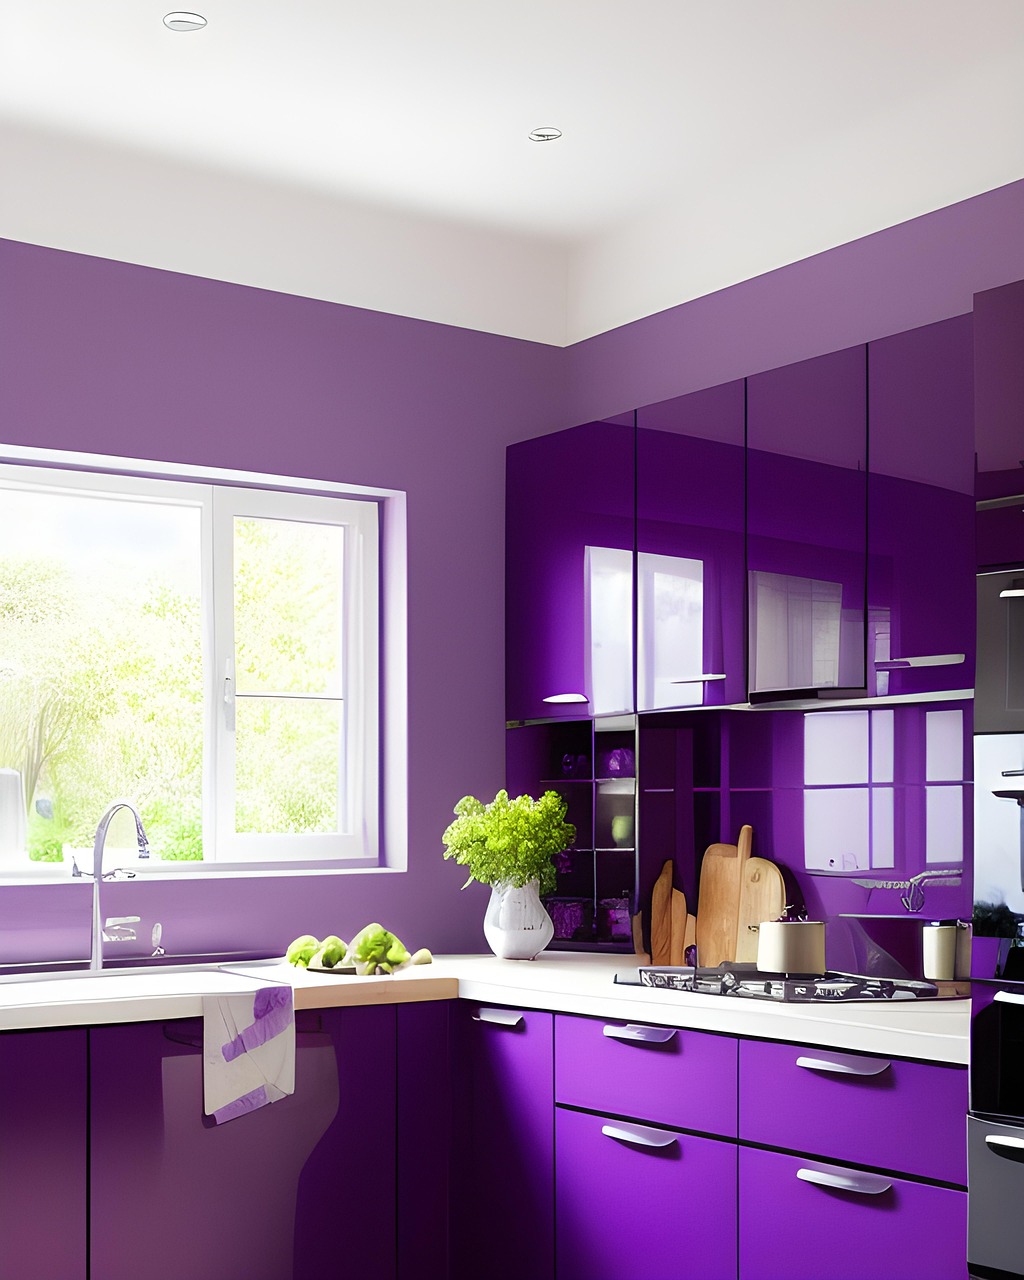
When you organize your kitchen, it isn’t just about aesthetics—it’s about efficiency, ease, and joy. Whether you’re a seasoned home chef or someone who just wants to stop losing the spatula every other day, when you organize your kitchen, it will make cooking and cleaning feel less like chores and more like rituals.
Step 1: Assess Your Space and Habits before you organize
Before diving into bins and labels, take a moment to reflect:
- What do you use most often?
- Where do bottlenecks happen (e.g., everyone crowding around the fridge)?
- Which areas feel cluttered or chaotic?
Think in zones: prep, cook, clean, store, snack. This helps you group items by function and place them where they’re most useful.
Step 2: Declutter
Empty your cabinets and drawers one at a time. Ask yourself:
- Do I use this?
- Is it broken, duplicated, or expired?
Get rid of things that you don’t want, use or that’s broken. This includes:
- Chipped mugs
- Unused kitchen gadgets (hello, avocado slicer)
- Expired spices and pantry items
Be aware that expired doesn’t always mean it’s bad. Food can stay much longer than the expiration date says. Check out our article, how to know if food is still good, to learn more.
Step 3: Organize into Groups and Categorize
Sort items into categories, for instance:
- Cooking tools: spatulas, ladles, tongs
- Prep gear: cutting boards, mixing bowls
- Pantry staples: grains, canned goods, spices
- Serving items: plates, glasses, cutlery
Use clear bins, baskets, or drawer dividers to keep categories tidy and visible. And don’t forget to label! You know that’s the real reason you wanted to organize your kitchen.
Step 4: Maximize Storage to fit more room to Organize
Make every inch count:
- Vertical space: Add shelf risers or hanging racks.
- Cabinet doors: Install hooks or slim organizers.
- Refrigerator racks: If magnetic, add refrigerator side racks to maximize space.
- Drawers: Use adjustable dividers for utensils and gadgets.
- Countertops: Keep only daily-use items out (e.g., coffee maker, fruit bowl).
Consider a lazy Susan for corner cabinets or spice racks to keep things organized and label everything for easy access.
Step 5: Organize the refrigerator and Pantry
- Refrigerator: Group by type—dairy, produce, condiments. Use clear bins and label shelves.
- Pantry: Store dry goods in airtight containers. Arrange by frequency of use and label clearly.
Make sure to rotate older items to the front to avoid waste.
Step 6: Create an organized Cleaning Station
Designate a spot for:
- Dish soap, sponges, and towels
- Trash bags and recycling bins
- Surface cleaners and gloves
Keep it compact but accessible—under the sink is a classic choice, but you can organize it wherever makes the most sense in your kitchen.
Step 7: Add Personality and Function while still being organized
- Use floating shelves for cookbooks or plants.
- Hang a chalkboard or whiteboard for grocery lists and meal plans.
- Display beautiful items like ceramic bowls or vintage jars.
A kitchen should reflect your style while staying practical.
Organizing your kitchen isn’t a one-time event—it’s a habit. Start small, stay consistent, and enjoy the calm that comes with knowing exactly where everything is. If you want to learn more about organizing, check out our post “5 Great Space-Saving Tips”, or if you want to learn more about kitchens, check out “How to Choose the Right Kitchen Cabinets”


